T4 Reborn: A Modding Computer Adventure
Last Christmas when he went back to China, Qian spent about 4000 RMB buying parts to build his own desktop computer. Over the past year, it’s served him well for studying and gaming, and he even runs various AI models and learns Python programming on it.
This Christmas, before he headed back to China, I happened to have a T4 GPU that had broken. Qian told me there are people in China who repair T4 cards, and he wanted to get it fixed and install it in his rig for running AI models. Even though the T4 only has 16GB of memory, it’s way better for AI workloads than his gaming RTX 3080. I asked him — how would you even know if the card is actually fixed? You can’t exactly bring your desktop back with you. He confidently told me he could build another PC for just a few hundred RMB just to test the card. The plan: go full dumpster-diver mode — buy used, second-hand, even modded parts — and assemble something barely functional enough to verify the GPU. It actually sounded reasonable.
What followed was a saga of tinkering and troubleshooting, far more involved than building with all-new parts. But in the end, it worked. Here’s the story of his modding adventure. We had about four weeks at home, roughly broken down as:
- GPU repair (1 week)
- Build & debug (2 weeks)
- T4 testing (1 week)
GPU Repair
As soon as we landed, he jumped right in. First up: sending the GPU for repair. He found a YouTube channel called 电脑显卡维修 that specializes in GPU repair — ironic that it’s accessible overseas but blocked in China. The guy’s policy: if he can’t fix it, you don’t pay.
The diagnosis came back fast: “power loss” and “missing components.” I had no idea what that meant — there’s a video below, judge for yourself. After about half an hour of work, replacing two resistors, he declared it done for 220 RMB. Qian was so excited he threw in an extra 80 RMB as a tip, totaling 300 RMB.
Later I saw the guy post on social media that he’d shipped over 2000 packages via SF Express last year — first place in his village. Rough math: even if only half were successful repairs, at three a day, that’s 300,000 RMB in income. Not bad for a skilled trade. Shows that if you’ve got a craft, you’ll never go hungry.
I watched more of his repair videos on YouTube — he works on tons of GPUs. Mostly bad外围 components — swapping capacitors, resistors, cleaning dust, sometimes replacing VRAM. If the core itself is dead, with those 2nm or 3nm processes, even Jensen Huang couldn’t fix it. Most of his clients are heavily-used mining cards or fake GPUs bought cheap on Xianyu. By comparison, our T4 was child’s play. Too bad nobody in New Zealand offers this service.
Building the Modded PC
With the GPU ready, step two was building the test rig. Qian’s strategy: find a motherboard that supports modded BIOS, then buy a bunch of modded parts to assemble a test platform.
Motherboard: Gigabyte Z170-HD3 DDR3 — supports modded BIOS. After flashing, it can use 8th/9th gen Intel CPUs instead of just 6th/7th gen. It can use AMD-specific RAM instead of Intel-only. It can even use laptop CPUs instead of desktop ones. All to cut costs.
CPU: Xeon E-2176M — 6 cores, 12 threads. Decent performance, low price. The “M” means it’s a mobile (laptop) CPU, normally incompatible with desktop boards. But the modding community adds a pin adapter so it fits in a desktop socket.
RAM: AMD-specific 8GB x4 — works on Intel boards after the modded BIOS flash.
I was skeptical at first, but after some research, I learned this is all done by modifying the BIOS source code, recompiling it to remove restrictions and add support for more hardware. Most of this work comes from overseas enthusiasts who have the interest, time, and skill. The guy Qian relied on is dsanke, famous in the modding scene. Chinese programmers are too busy with 996 to bother with this stuff. But Taobao sellers have turned it into a business — buy their motherboard, they throw in the modded BIOS, flashing guides, tutorials. It attracts a lot of budget-conscious DIYers. Of course, there’s risk — if the flash fails, you’ve got a paperweight. (Qian says that’s unlikely since modern boards have dual BIOS, so you can always fall back.)
Before flashing the modded BIOS, you need a working CPU just to boot the board. So Qian bought a dirt-cheap G3930 (dual-core, 2 threads) and two 4GB sticks of RAM just for the flash process. After that, he’d swap in the modded Xeon and proper RAM.
There was a funny incident — the seller shipped the wrong item. Instead of a CPU, they sent a battery. I immediately thought we’d been scammed — buying a GPU and getting a brick, buying an iPhone and getting an apple. Turns out the seller had mixed up orders and later resent the correct CPU. Quite the experience. Also, buying on Xianyu apparently requires you to film yourself unboxing — Qian bought a head-mounted phone holder for first-person POV videos. Gotta love modern trust-building measures.

But then he hit a wall. With the cheap CPU and RAM, the board wouldn’t POST — no video output at all. Zero clue what was wrong. Could be the board, the CPU, the RAM, even the monitor. Just… nothing.
To debug, he bought another cheap board — a Soyo H110. With the same CPU and RAM, it booted right up. I helped him set up a Linux USB, and it could even go online (wired only — the USB WiFi he bought had no Linux driver). It was painfully slow — the dual-core Celeron hit 50% CPU at idle and 100% with anything else.
This confirmed the problem was with the Gigabyte board. But still no way to pinpoint the issue. So he bought a debug speaker — a little buzzer that beeps during POST. Different beep patterns indicate different hardware issues. I finally understood that short “beep” we used to hear on old PCs 20+ years ago — that was the debug speaker. One short beep means all clear. Solved a decades-old mystery for me. Some boards have LED displays too, but his Gigabyte didn’t.
With the speaker, he found the problem: CPU incompatibility. Four short beeps = CPU issue. The seller confirmed he needed a 6th-gen CPU. So he bought one, swapped it in, and the board POSTed. Finally, he could flash the BIOS. Funny thing — those old 6th/7th gen Celerons now cost pocket change. Back in the day, even low-end CPUs cost a pretty penny. Times change.
Flashing was straightforward: put the modded firmware on a USB, boot into BIOS, flash from USB. Shut down, swap to the modded CPU and RAM, power on. It POSTed! Success. Linux booted fine. But that was just step one.
Next, Qian wanted to test the GPU with Windows. Due to the old board, Windows 10 was the max, even though it’s past official support. I noticed the board had a TPM slot — surprising, since TPM is required for Windows 11. I thought TPM was always soldered on. He bought a TPM module, plugged it in, and Windows 10 detected it, allowing an upgrade to Windows 11. We had no license key, but it turns out you can use Windows 11 indefinitely with just a watermark in the corner. The OS wars really are over — Microsoft doesn’t even need to sell licenses anymore.
T4 Testing
Testing the T4 was simple: plug it in, install drivers, run a test. Everything worked. The card was repaired. Qian was thrilled — finally, AI models on a real GPU.
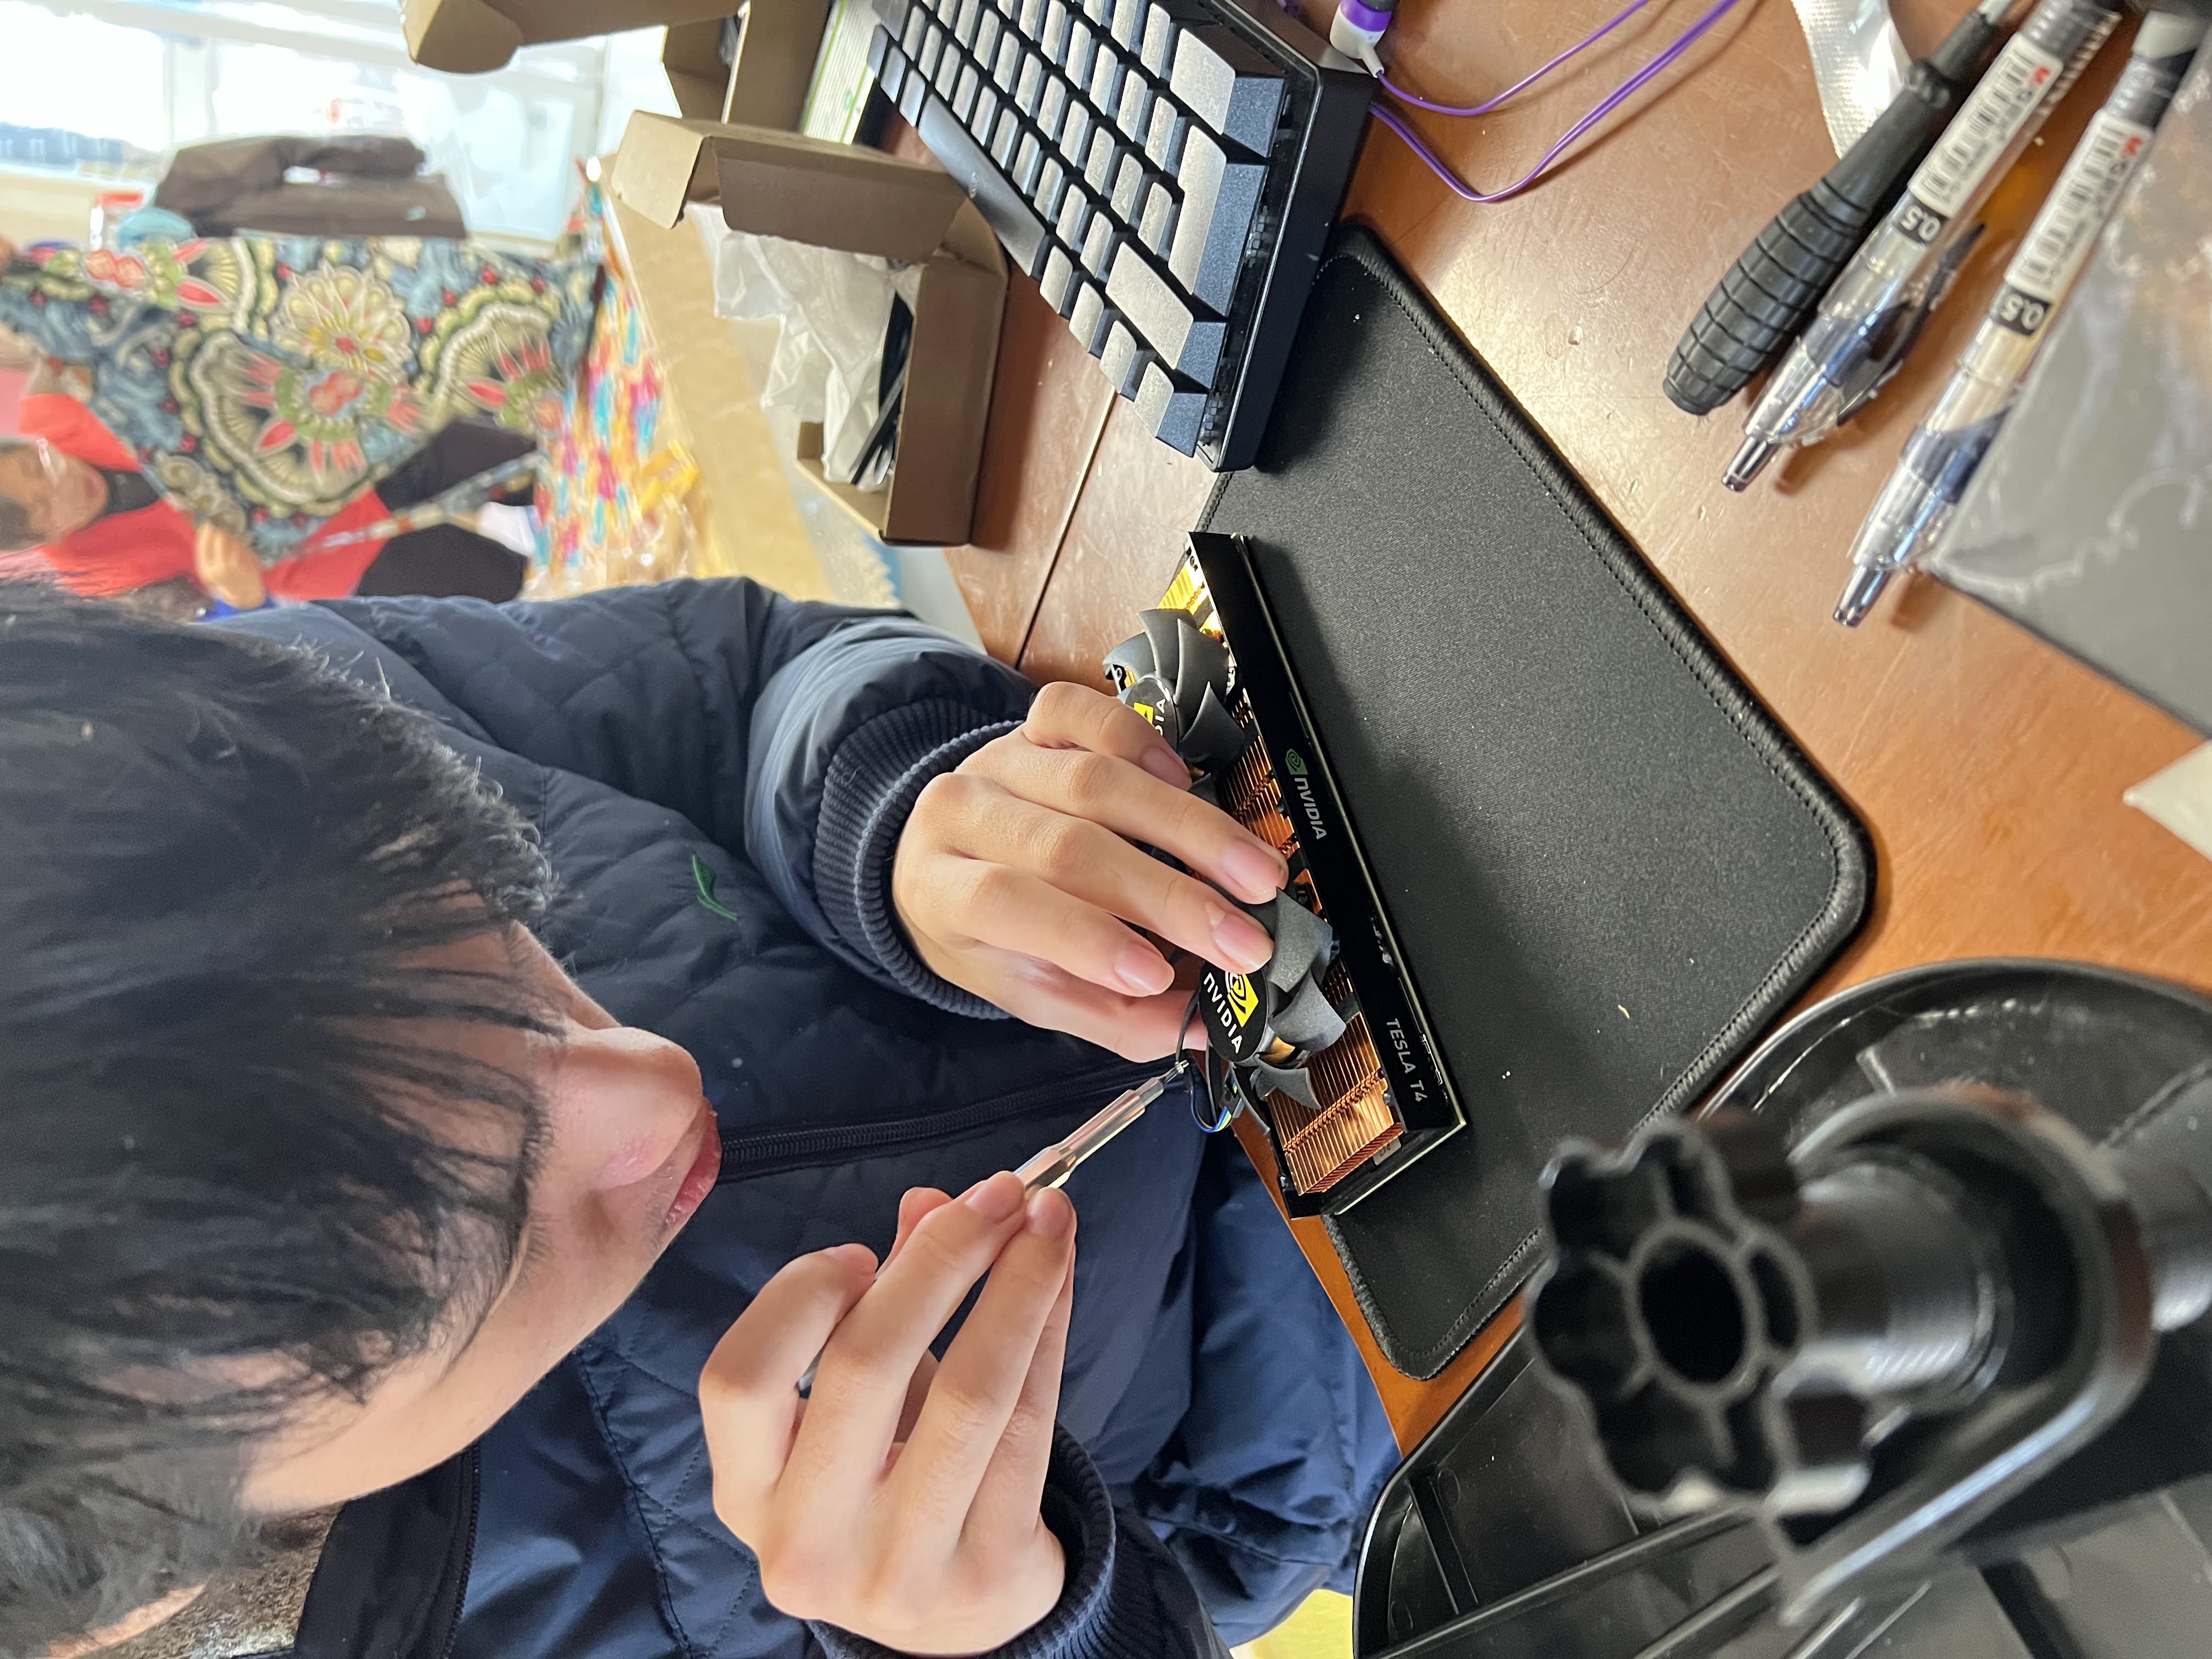
But then came the heat problem. The T4 is a typical datacenter GPU: tiny, no video outputs except PCIe, no fan. It relies entirely on server chassis airflow. Running a local model, even asking GPT-OSS one question with reasoning enabled would push the temperature over 90°C. So he bought a dedicated T4 fan kit. Installation required disassembling the card, mounting the fan, and reassembling it. I was impressed by his动手能力. The fans worked — temperature stabilized around 60°C. When will physicists finally crack high-temperature superconductivity and solve cooling forever?
Then came the real fun — running models and benchmarking. I already knew what the T4 could do, but Qian was blown away. “It’s so much faster than my 3080!” he kept saying. I dread to think what his experience running models on the 3080 was like.
He installed ComfyUI for text-to-image and image-to-video models. This was new to me — I learned a lot from him. After returning to NZ, I ran ComfyUI on the university’s beefier GPUs, and it was pretty fun.
And so ends the tale of his modding adventure back home. It was a hassle, sure, but incredibly rewarding. He learned tons, developed practical skills, and I picked up quite a bit too.
Interlude: Information Security
There was a side story that taught Qian a vivid lesson in infosec. In New Zealand, the council runs an annual inorganic collection — you can put out large trash items like old furniture and electronics for free pickup. On collection day, Qian spotted several discarded laptops and brought them home — a true dumpster diver. They wouldn’t boot, so he harvested parts: RAM and SSDs. Laptop RAM is useless in a desktop, but the SSDs worked perfectly. He installed one in his modded PC.
Turns out the SSD still had data on it — the previous owner hadn’t wiped anything. That’s dangerous: personal photos, documents, etc. (remember the Edison Chen laptop incident?). Even better, it had a Windows installation that could boot. He didn’t know the password, but a quick tool reset it and he was in. I told him to respect others’ privacy, and he obediently formatted the drive. Although, in hindsight, we should’ve grabbed that Windows license key — maybe it could’ve activated his Windows 11 (probably not — it was an OEM key anyway).
Windows has BitLocker for full-disk encryption, but most people don’t use it. And there are horror stories of BitLocker locking legitimate owners out — search “bitlocker locked me out” for endless pain. So most computers ship without it, leaving data exposed.
This was a perfect real-world lesson for Qian: always wipe data before discarding a computer. No classroom theory could’ve been more effective.
Cost Summary
Here’s the breakdown of the modded PC build, totaling about 837 RMB:
| Item | Price (RMB) | Notes |
|---|---|---|
| Motherboard (Gigabyte Z170-HD3 DDR3) | 192 | Moddable BIOS |
| CPU (Intel Xeon E-2176M @ 2.70GHz) | 222 | Modded laptop CPU |
| CPU Cooler | 8 | Used |
| RAM (8GB x4) | 90 | AMD-specific, works after mod |
| PSU (Onda 1650W) | 84 | Mining PSU |
| Monitor (21.5” VGA) | 92 | No-name brand |
| SSD (256GB Team) | 0 | Harvested from trashed laptop |
| SSD2 (500GB Intel) | 0 | Harvested from server |
| TPM module | 47.53 | Required for Win11 |
| Case | 60 | Used, 15 NZD |
| WiFi card | 13.5 | Bluetooth combo |
| Debug speaker | 1.9 | For troubleshooting POST issues |
| Screwdriver | 3.9 | Confiscated by airport security |
| T4 fan kit | 22 | Active cooling for the T4 |
| Total | 836.83 |
Other debug tools and accessories:
| Item | Price (RMB) | Notes |
|---|---|---|
| Flash CPU (G3930) x 2 | 14 | Ultra cheap, ultra slow |
| 240mm AIO cooler | 35 | Basically a toy |
| Kingston 4GB x2 DDR3 | 30 | For flashing |
| USB WiFi adapter | 29.07 | Windows-only drivers |
| T4 repair fee | 300 | 80 of which was Qian’s tip |
| Total | 408.07 |
All in, about 1200 RMB for a working T4-powered AI rig. Totally worth it. Qian learned so much and developed real hands-on skills — the kind of thing you can’t buy for 1000 RMB.
Back in New Zealand, he took the T4 for his main rig. The test bench parts? He didn’t need them anymore. So I claimed them. I don’t game or run local models, so I didn’t need a GPU. I bought a case on Facebook Marketplace, assembled everything, and now it’s a respectable desktop — no longer the “bare chassis” Qian called it. I plan to use it for my work-from-home setup. My work-issued MacBook Pro is overkill for video calls and office tasks.
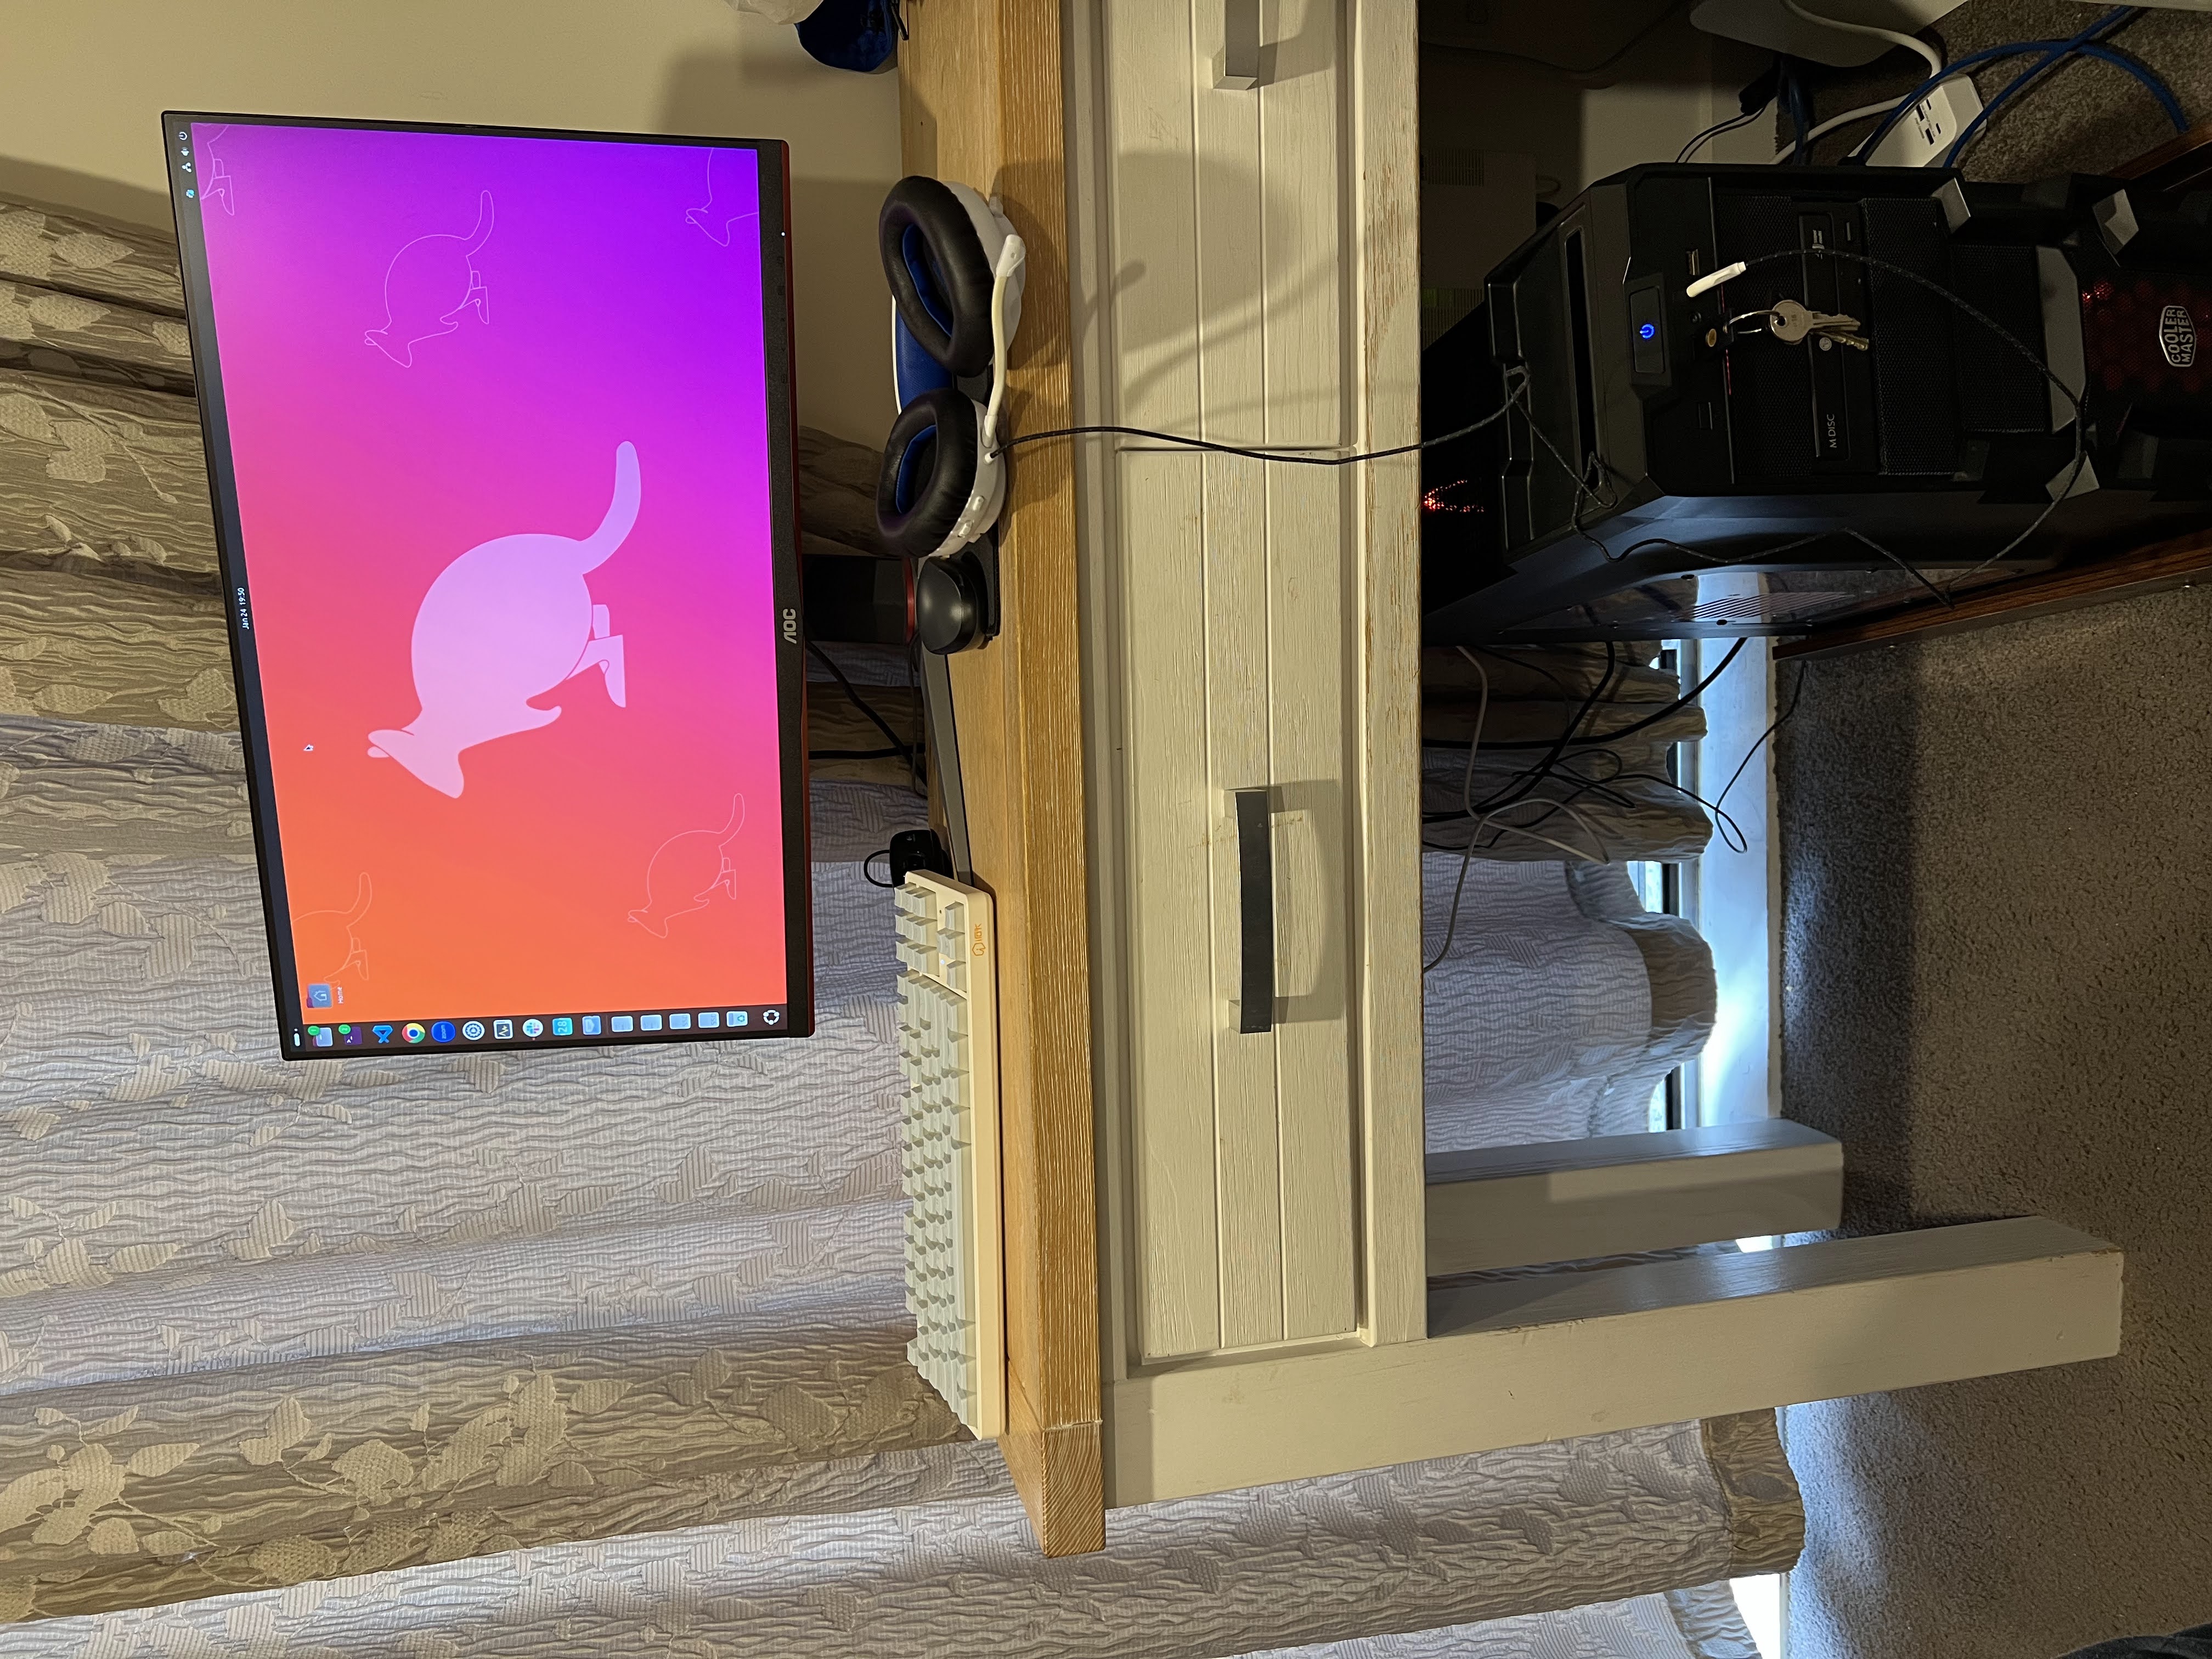
Here’s the final build — my new WFH battlestation. Thanks, Qian, for all the tinkering. I learned a lot too.