Building a Mini Linux Distribution
About 20 years ago, in my dorm room, a group of classmates and I bought a set of Linux CDs (probably Red Hat or Mandrake — the latter doesn’t exist anymore). Back then, Linux CDs came with not just installation disks but also source code disks. We’d spend idle time in the dorm compiling the Linux kernel. The kernel wasn’t as complex back then, but our machines were terrible, so compilation took forever. Once it finished, we’d boot our custom-compiled kernel.
Fast forward 20+ years: the kernel has gone from 2.4 to 6.x. Back at work after the New Year with nothing much to do, I thought about those days and wanted to relive the experience. But just compiling a kernel and swapping it in seemed too boring — that’s what I did 20 years ago. This time, I wanted to go big: build a full distribution like Ubuntu, Debian, Red Hat, or Fedora.
A distribution is far more complex than a kernel. You need an installer, package manager, software repository, GUI, desktop environment, window manager, login manager, network manager, audio manager, power manager, file manager, text editor, terminal emulator, browser, email client, music player, video player, image viewer, PDF reader, printer manager, screenshot tool, screen recorder, system monitor, system settings, system logs, system updates, system backup, system restore… But the core is just three pieces:
- Boot loader
- Kernel
- Userspace programs
Get these three right and you can claim to have a distribution. Let’s begin. Everything is done on an Ubuntu 22.04 VM.
1. Install Prerequisites
apt install build-essential flex libncurses5-dev bc libelf-dev bison libssl-dev
These packages will be needed during compilation.
2. Build the Kernel
Kernel compilation is relatively simple and hasn’t changed much in 20 years. The source code can now be checked out directly from the internet — no need for CDs.
git clone --depth=1 https://github.com/torvalds/linux.git

make menuconfig
make -j 32
My VM has 32 vCPUs, so I used 32 parallel jobs. Generally, use as many parallel processes as you have CPU cores. Computing has definitely progressed — compilation took about 10 minutes. I mostly kept default settings, disabling two options:
root@jason-builder:/data/linux# ./scripts/config --disable SYSTEM_TRUSTED_KEYS
root@jason-builder:/data/linux# ./scripts/config --disable SYSTEM_REVOCATION_KEYS
3. Build Busybox
With the kernel ready, you need userspace programs. I chose Busybox — it’s feature-rich and tiny. Think of it as a super shell packed with commands. It was popular in embedded Linux. I changed one config setting: compiled it as a static binary to avoid dependency issues.
git clone --depth=1 https://git.busybox.net/busybox/
make -j 32
mkdir /data/boot/initramfs
make CONFIG_PREFIX=/data/boot/initramfs install
cd /data/boot/initramfs
vi init # add shebang
chmod +x init
rm linuxrc
/data/boot/initramfs# find | cpio -o -H newc > ../init.cpio
4. Boot Loader
Finally, you need a bootloader to start your kernel. Back in the day, we used LILO — now it’s dead, replaced by GRUB. Our distribution doesn’t need anything fancy; syslinux is the simplest option.
apt install syslinux
dd if=/dev/zero of=boot bs=1M count=50
mkfs.fat boot
syslinux boot
mkdir m
mount boot m
cp bzImage init.cpio ./m/
umount m
Booting this way will fail — you need to manually enter the kernel and initramfs paths. Let’s add a syslinux config file:
DEFAULT linux
LABEL linux
    KERNEL bzImage
    APPEND initrd=init.cpio
5. Boot
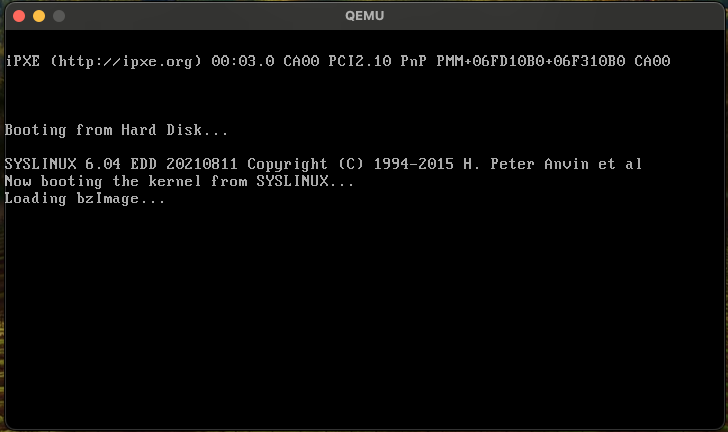
You’ll need a VM with a graphical interface — VMWare, VirtualBox, or QEMU. I used QEMU on macOS:
qemu-system-x86_64 boot
The graphical interface pops up, and you see your very own Linux booting.
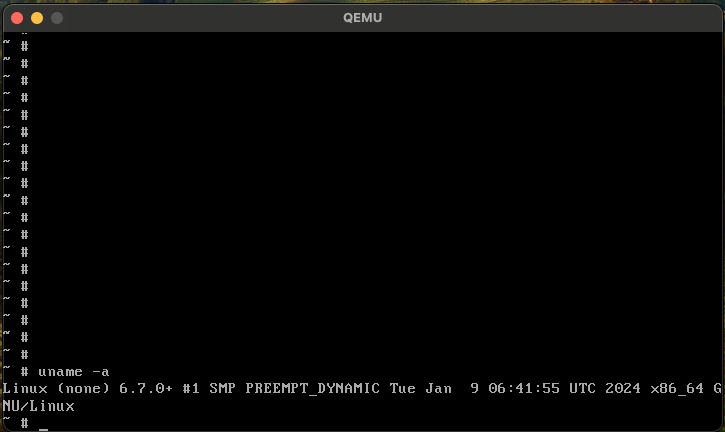
It’s running the latest kernel. You can run simple commands and shell scripts. But there’s no network, so no SSH. This is essentially the first step of building a distribution. Some Raspberry Pi distributions are made this way. But it’s too simple — no network, no package manager, no way to install software. Nobody would use it.